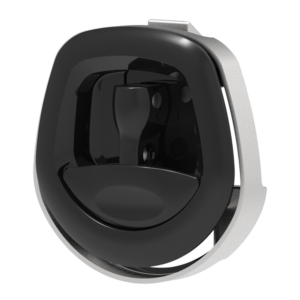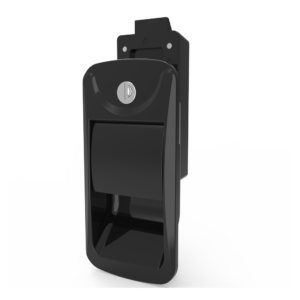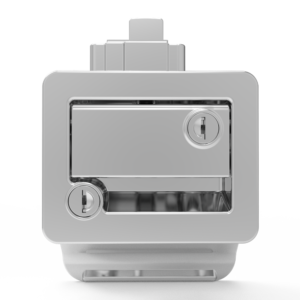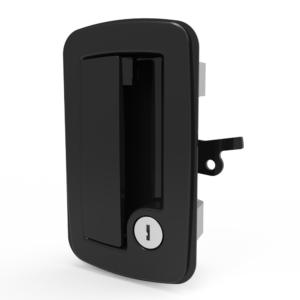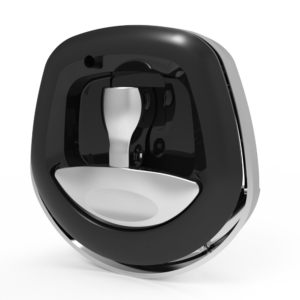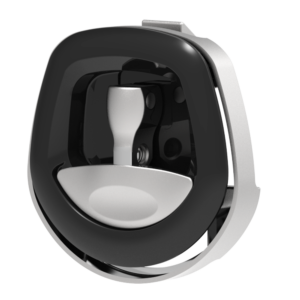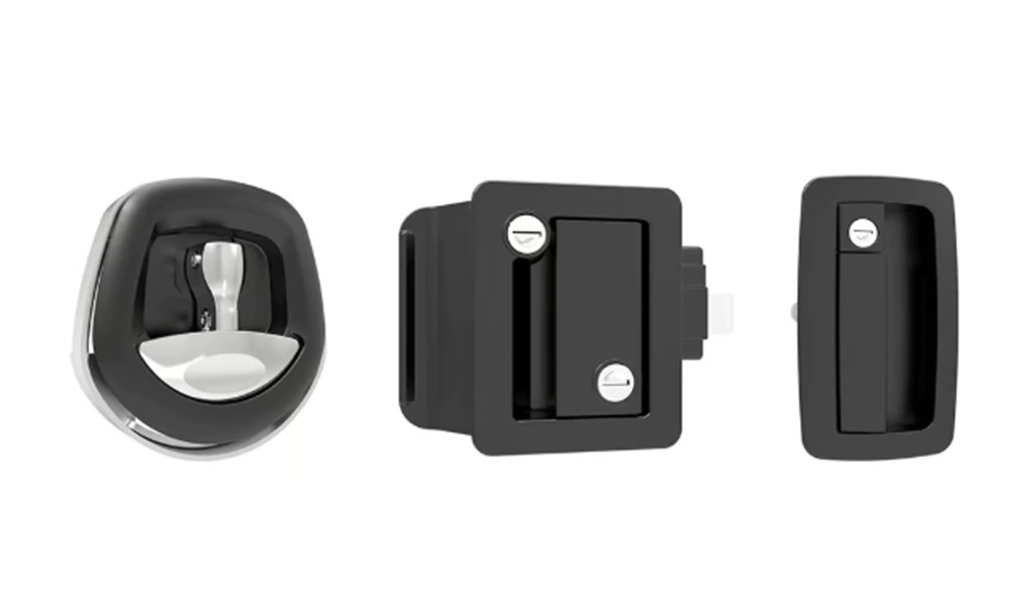





Most guides ignore RV door construction. Learn how to install a slam latch on an RV storage compartment door the right way — covering latch selection, cutting, and backing plates.
Most installation guides for RV slam latches treat every door the same way: mark a hole, cut it out, drive in the screws, done. That approach works fine for a solid wood cabinet or a steel utility box. It fails regularly on RV storage compartment doors — and the failures are predictable, because the door construction itself creates constraints that generic tutorials never address.
At ForndLock, we manufacture slam latches for RV OEM production runs, specialty vehicles, and utility enclosures. We’ve seen what happens when latch selection and installation decisions are made without accounting for door material, wall thickness, or hollow-core construction. This guide covers everything that actually matters: choosing the right latch for your specific door, cutting the opening without damaging fiberglass or aluminum skin, securing a backing plate without interior panel access, and replacing a failed latch without pulling the door off its hinges. The primary focus throughout is how to install a slam latch on an RV storage compartment door — not a generic latch tutorial dressed up with RV photos.
Why Does the Storage Compartment Door Demand a Different Approach?
RV storage compartment doors are typically 1″ to 1.5″ thick with a composite or aluminum skin over a hollow frame, which means the latch barrel length, cutout dimensions, and backing plate strategy must all be chosen for that specific construction — not for a solid wood cabinet door or a steel enclosure.
Door thickness in the field varies more than most guides acknowledge. Common measurements run 7/8″, 1″, 1-1/4″, and 1-1/2″. Getting this wrong by even 1/4″ means the latch body won’t seat flush against the exterior face, or the tang won’t reach the strike with enough engagement depth to hold under road vibration. Both outcomes look fine at the campground and fail on the highway.
The two dominant skin materials behave very differently under a cutting tool. Extruded aluminum — common on fifth wheels and motorhomes — cuts cleanly with the right blade but cracks and deforms if you use a standard wood drill bit or an aggressive jigsaw stroke. Fiberglass-reinforced composite, common on travel trailers, delaminates at the cut edge if you use a hole saw or apply too much lateral pressure. The cutting method is not interchangeable between materials.
Then there’s the hollow-core problem. Unlike a solid door, there’s no continuous backing material behind the skin. The mounting screws have nothing to bite into except the thin skin itself and, at the edges, the door’s perimeter frame. This is why “just use the included screws” is genuinely bad advice for fiberglass doors — thread pull-out under sustained vibration is a documented failure mode, not a theoretical one. From our experience supplying latches for RV OEM production runs, variations in door thickness spec across model years caused field returns where latch bodies seated at an angle or left visible gaps at the flange edge. That experience directly informed the range of barrel length options we now manufacture.
Finally, there’s no interior access panel on a storage bay door. The compartment interior is your only access point, and it’s often cramped. Every installation step has to be designed around that constraint.
How Do You Choose the Right Slam Latch for an RV Storage Compartment?
The right slam latch for an RV storage compartment is determined by three measurements before anything else: door thickness, the cutout opening size the latch body requires, and whether the door frame can support a backing plate — everything else, including finish and key option, comes after those three are confirmed.
What Door Thickness Range Does Your Latch Need to Accommodate?
Most standard RV baggage door slam latches are designed for doors between 1″ and 1-1/2″ thick, but if your door measures 7/8″ — common on older travel trailers — you will need either a latch rated for thinner doors or a shimming strategy to build up the door edge before cutting.
When a latch flange can’t sit flush on a 7/8″ door, the gap between the flange and door skin allows water infiltration, creates a rattle point, and puts uneven stress on the mounting screws. Shimming with a thin strip of aluminum or high-density rubber behind the flange can effectively increase the door edge thickness to the latch’s minimum requirement — this is acceptable when the shim material is rigid, weather-resistant, and bonded in place before the latch is installed. It is not acceptable as a loose spacer. On the latch body depth side, the barrel must not protrude significantly into the compartment interior, where it can snag stored items or interfere with the door’s weather seal.
What Cutout Size Does an RV Storage Compartment Slam Latch Actually Need?
The standard cutout for most full-size RV baggage door slam latches is approximately 2-3/4″ × 2-3/4″ square, though mini or paddle variants may require a different opening — always use the latch body itself as a physical template rather than relying on published dimensions alone, since tolerances vary by manufacturer.
For fiberglass doors, an oscillating multi-tool is strongly preferred over a hole saw. The oscillating stroke produces a cleaner edge with far less delamination risk than a rotary blade. For aluminum doors, a jigsaw with a fine-tooth metal blade or a step drill for the corners works well — standard wood spade bits cause the skin to crack at the entry point.
Always cut slightly undersized and file to fit rather than cutting to the final dimension in one pass. An undersized cut is correctable. An oversized cut requires a trim ring or a larger-flange replacement latch to cover it cleanly. On flange dimensions: most full-size units run approximately 4.5″ × 5″ on the exterior face; mini units run smaller. Confirm before cutting. ForndLock’s production tolerance for latch body-to-cutout clearance is 1/16″ per side — enough for a clean installation without binding, tight enough that the flange covers the cut edge completely.
| Door Thickness | Recommended Barrel Length | Typical Cutout Size | Backing Plate Required |
| 7/8″ | Short (with shim) | 2-3/4″ × 2-3/4″ | Yes |
| 1″ | Standard | 2-3/4″ × 2-3/4″ | Yes |
| 1-1/4″ | Standard–Medium | 2-3/4″ × 2-3/4″ | Yes |
| 1-1/2″ | Medium–Long | 2-3/4″ × 2-3/4″ | Yes |
How Do You Install a Slam Latch on an RV Storage Compartment Door Step by Step?
Installing a slam latch on an RV storage compartment door is a one-person job that takes roughly 30–45 minutes when the door is still on its hinges — the key is working from the exterior face inward, securing a backing plate through the compartment opening, and aligning the strike on the door frame before final tightening.
What Tools and Materials Do You Need Before Starting?
For a storage compartment door installation, you need an oscillating tool or jigsaw, a drill with appropriate bits for your door material, a pencil or scribe, painter’s tape, the latch hardware, a backing plate or fender washers, and a tube of self-leveling lap sealant or butyl tape — the sealant is not optional.
Full tool list:
- Oscillating multi-tool (fiberglass) or jigsaw with fine-tooth metal blade (aluminum)
- Drill with step bits (aluminum) or sharp twist bits (fiberglass)
- Measuring tape and combination square
- Pencil or fine-tip scribe
- Painter’s tape
- Latch body, backing plate, and all mounting hardware
- Large-diameter fender washers (backup option if no purpose-made backing plate)
- Self-leveling lap sealant (horizontal flange orientation) or non-sag butyl tape (vertical)
- Safety glasses and gloves
Painter’s tape applied over the cut line before you make the first pass prevents skin chipping on fiberglass — a small step that saves a lot of frustration. On backing plate choice: a purpose-made aluminum backing plate distributes load across a larger area of the door skin and is the right choice for any door that will see regular road use. Large-diameter fender washers work in a pinch but concentrate load at the screw holes. Skip the sealant and you’re creating a water infiltration path directly into the door’s hollow core — on fiberglass doors, this causes long-term delamination that is expensive to repair.
How Do You Mark and Cut the Opening Accurately?
Use the latch body itself as the cutting template — trace the interior opening onto the door face with a scribe or fine-tip marker, verify the position is at least 1″ from any door edge or frame member, then apply painter’s tape over the cut line before making the first pass with your cutting tool.
Before marking, probe the door face with a thin wire or awl at the intended location to confirm there’s no internal frame member directly behind your cut zone. Most storage bay doors have perimeter framing and sometimes a center horizontal rail — hitting one of those with your cutting tool mid-pass creates a problem that’s hard to recover from. Also check door-open clearance: when the door swings fully open, the latch handle should not contact the RV body or the door opening frame. Mark this position with the door open before committing to a location.
If the fiberglass begins to delaminate at the cut edge, stop and stabilize the area with thin cyanoacrylate (CA) glue applied along the edge. Let it cure fully before continuing. Do not try to cut through a delaminating edge — the layers will separate further and the flange won’t seal cleanly.
How Do You Secure the Latch Body and Backing Plate Without Interior Panel Access?
With no door panel to remove, the backing plate must be installed through the compartment opening — feed the plate through the cutout from the exterior, hold it against the interior door skin by hand or with a temporary clip, then drive the mounting screws from the exterior face to pull the plate tight against the skin.
The sequence: apply sealant or butyl tape around the cutout perimeter on the exterior face → insert the latch body from the exterior → feed the backing plate through the cutout into the door cavity → align the plate over the screw holes (a small piece of tape on the plate can help hold it in position temporarily) → drive mounting screws from outside, pulling the plate flush against the interior skin.
On torque: snug but not overtightened. Over-torquing on a fiberglass door causes the skin to dimple around the screw holes, which breaks the flange seal and creates stress cracks over time. Self-tapping screws into hollow aluminum door edges are a common shortcut that fails within a season — the threads strip out under vibration. Machine screws through the backing plate are the correct solution for any hollow-core door.
How Do You Install and Align the Strike Plate on the Door Frame?
The strike plate position is not fixed — close the door gently without latching, mark where the latch tang contacts the door frame, then position the strike plate so the tang enters the strike opening with 1/16″ to 1/8″ of engagement clearance on each side, avoiding a tight fit that causes premature wear.
If the door frame is recessed relative to the door face, the strike plate may need to be shimmed outward so the tang meets it squarely rather than at an angle. A strip of foam or butyl tape between the strike plate and the frame provides both a sealing function and a slight cushion that reduces metal-on-metal contact noise.
Final test: slam the door from 6 inches away, then from 12 inches, then from a full arm’s reach. All three should produce a clean single-latch engagement without the door bouncing back open. If the door bounces at full-force close, the strike plate needs to come out slightly. In our field experience, strike plate misalignment is the most common post-installation failure — the latch body installation gets careful attention, and the strike gets rushed. Don’t let that happen.
How Do You Replace a Slam Latch on an RV Storage Compartment Without Removing the Door Panel?
Replacing an existing slam latch on an RV storage compartment door without removing the door panel is entirely feasible as long as the new latch’s exterior flange is equal to or larger than the old one — this covers the existing cutout without requiring any new cutting or patching.
RV compartment slam latch replacement without removing the door panel starts with two measurements before you order anything: the existing cutout opening size and the existing flange dimensions. Ordering a replacement by appearance alone — “looks like the same latch” — frequently results in a new flange that’s slightly smaller than the old one, leaving a visible gap between the flange edge and the door skin. That gap is both cosmetically unacceptable and a water infiltration point.
When the old cutout is oversized from a previous DIY attempt, a larger-flange latch or a purpose-made trim ring is the clean solution. Don’t try to fill an oversized cutout with sealant alone — it won’t hold under vibration.
Removing the old backing plate without door panel access requires either a flexible magnetic retrieval tool or a bent wire hook worked through the cutout. This is the step most people underestimate. The old plate doesn’t fall out on its own once the screws are removed — it stays in the door cavity and needs to be fished out before the new plate can be inserted. Plan for this step to take five to ten minutes on its own.
On keyed-alike considerations: if you’re replacing one of multiple compartment latches, this is the right time to re-key all of them to a single key code rather than matching just the one you’re replacing. Doing all at once costs less time and effort than coming back to it later. A 1/8″ difference in latch body depth between the old and new units is enough to require strike plate shimming — ForndLock manufactures to consistent body depth tolerances specifically to reduce this adjustment burden in replacement scenarios, but always verify against the old strike plate position before declaring the job done.
What Can Go Wrong After Installation, and How Do You Fix It?
The three most common post-installation problems with RV storage compartment slam latches are a door that won’t stay latched over bumps, a latch that requires excessive force to close, and water intrusion around the cutout — each has a specific root cause that is different from the others and requires a targeted fix.
| Problem | Root Cause | Fix |
| Door unlatches on rough roads | Strike plate engagement too shallow; tang catches the leading edge rather than seating fully | Shim the strike plate outward 1/16″–1/8″ until the tang seats past the engagement shoulder |
| Latch requires a hard slam to close | Strike plate positioned too far inward, or spring tension too high for door weight | Reposition strike plate; reduce spring tension one position if adjustable; verify door alignment isn’t causing binding before the latch engages |
| Water inside compartment around the latch | Sealant skipped, applied over a dirty surface, or wrong type used (paintable latex instead of flexible lap sealant) | Remove latch, clean the cutout edge thoroughly, apply butyl tape or self-leveling lap sealant, reinstall — do not caulk over an existing gap |
The water intrusion case deserves extra emphasis. Applying a bead of standard paintable latex caulk over a gap that’s already leaking is a very common response, and it doesn’t work. Latex caulk doesn’t flex enough to survive road vibration, and it won’t adhere properly over a surface that’s already seen moisture. The only correct fix is to remove the latch, clean the mating surfaces down to bare material, and start the sealing step from scratch with the right product.
The core insight that separates a successful installation from a frustrating one isn’t the latch body installation itself — it’s the upstream decisions. Door thickness, cutout sizing, backing plate strategy, and strike plate alignment are what determine whether a slam latch performs reliably for years or fails within a season. Get those four things right, and the mechanical installation is straightforward.
At ForndLock, we design our slam latches for RV storage compartment applications with consistent barrel depths, standardized flange dimensions, and hardware options matched to both aluminum and fiberglass door constructions — because these installation variables are real, predictable, and entirely solvable when the latch is designed with them in mind rather than after the fact.
Whether you’re sourcing slam latches for a production run, need a custom flange size to fit a non-standard compartment door, or want to discuss keyed-alike options across multiple compartments, send your project requirements, drawings, or sample request to info@forndlock.com — our team responds with specifics, not brochures.